Ok, listen to this:
Does that make you feel nostalgic? If not, then honestly you might not get much out of this post. Feel free to still read it of course, but you really need to be a certain kind of nerd for this one.
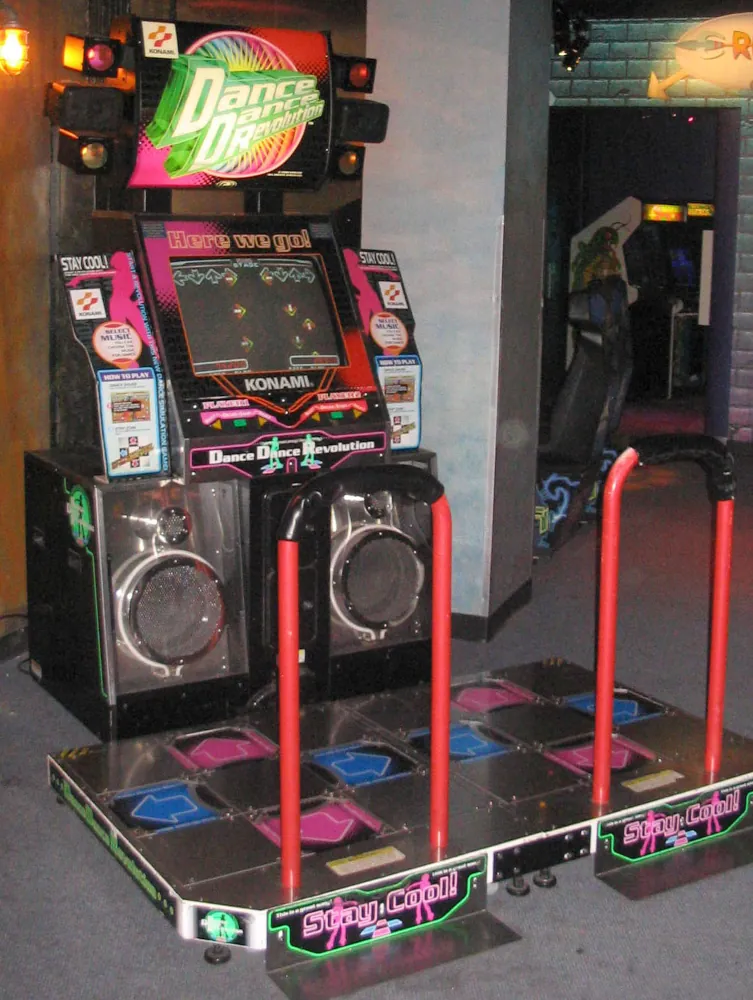
First Stage
I think the first rhythm game I played as a kid was actually a Pump machine at a Chuck E. Cheese. If you don't know, Pump It Up is a Korean game similar to the more famous Dance Dance Revolution, where the panels you step on are diagonals rather than left/right/up/down.
I was pretty terrible at the game initially (and those old Pump cabinets are often very badly maintained), but even so it caught my attention like few things at the arcade did. There's a certain feeling to playing a rhythm game that's hard to explain if you've never experienced it yourself.
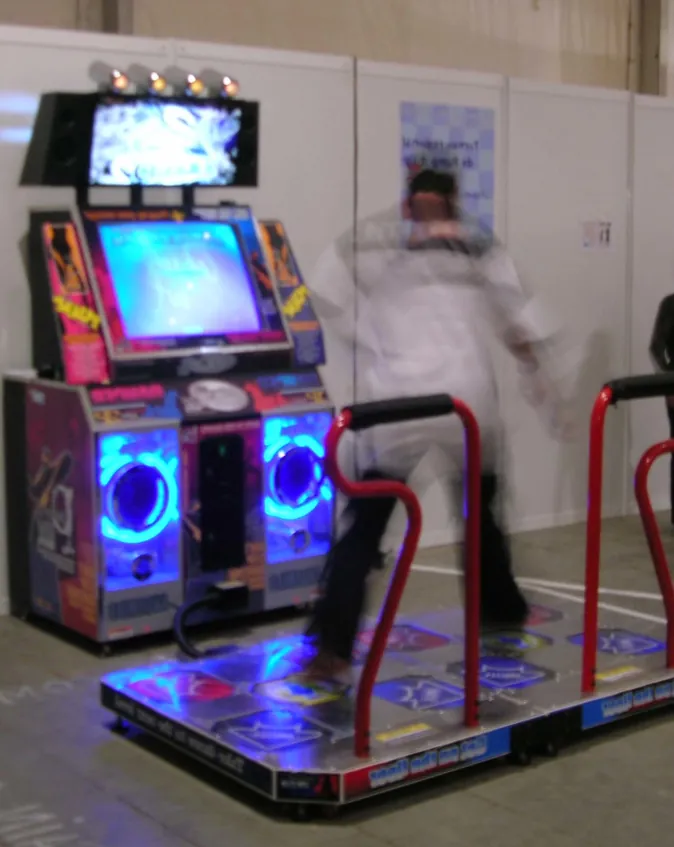
These were omnipresent in the early 2000s, so I'm sure I ran into quite a few DDR and Pump cabinets over the years. The only other one I remember specifically was a DDR MAX2 (aka 7th Mix) machine at the local laser tag place. The sensors in the pad were so stiff (and I was so small at the time) that it wouldn't register me trying to hold down more than one panel at once; I had to be putting my entire body weight onto one arrow. Even so, I spent hours at that machine every time we went.
Second Stage
I may have played around with StepMania on the family PC prior to this, but my first proper home version of DDR was Hottest Party on the Wii. It came with one of these:
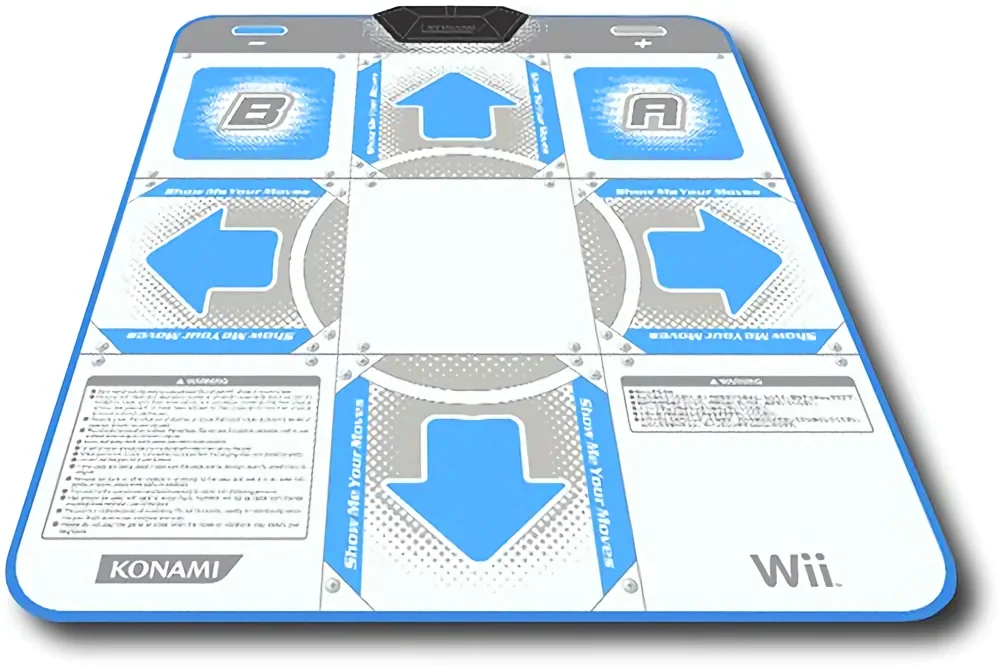
These vinyl soft pads really aren't as bad as everyone says in my experience. They consist of two conductive layers with a foam separating layer in between. When you step on an arrow, the foam compresses, and a circuit is formed between the two conductive sheets.
The main problem with these is that they slide around on the floor. And since the whole thing feels the same, you can't tell that the arrows have moved without looking down.
Eventually I decided that I wanted a pad that could plug into my PC. The first one I got was a foam insert pad. These are like the vinyl ones, except they have a layer of those foam playroom tile things inside them. Maybe I just got a bad one, but I didn't find it to be much better than the regular thin kind. If anything it slid around more, and the sponginess of the foam under my feet made it feel cheap and indefinite (which in fairness, it was).
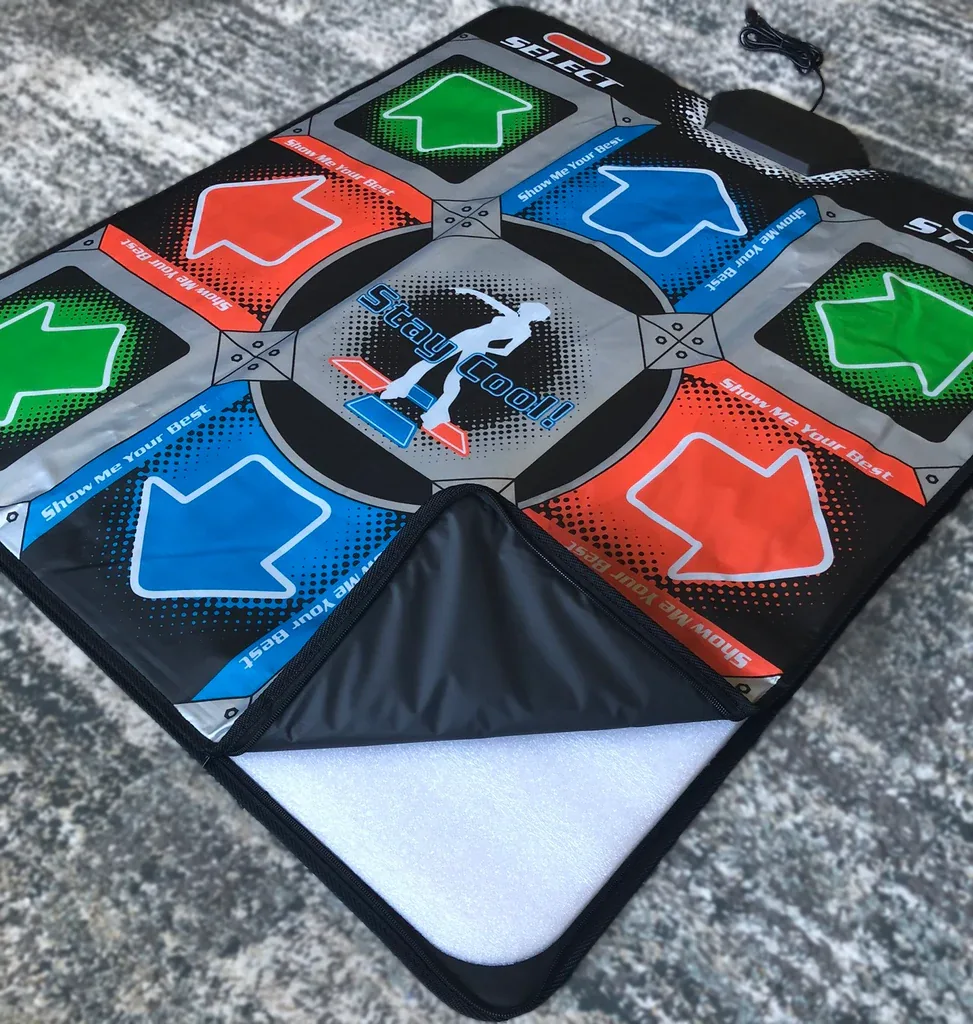
Mine wasn't exactly like this, but also not that different, don't be annoying.
The other notable pad I tried out was a RedOctane Afterburner. If you don't know, RedOctane (which shut down in 2010) was the company that made the controllers for Guitar Hero and DJ Hero, as well as working with Roxor Games on In The Groove. So you'd expect that they'd know their way around a dance pad, and that impression is confirmed just by looking at it:
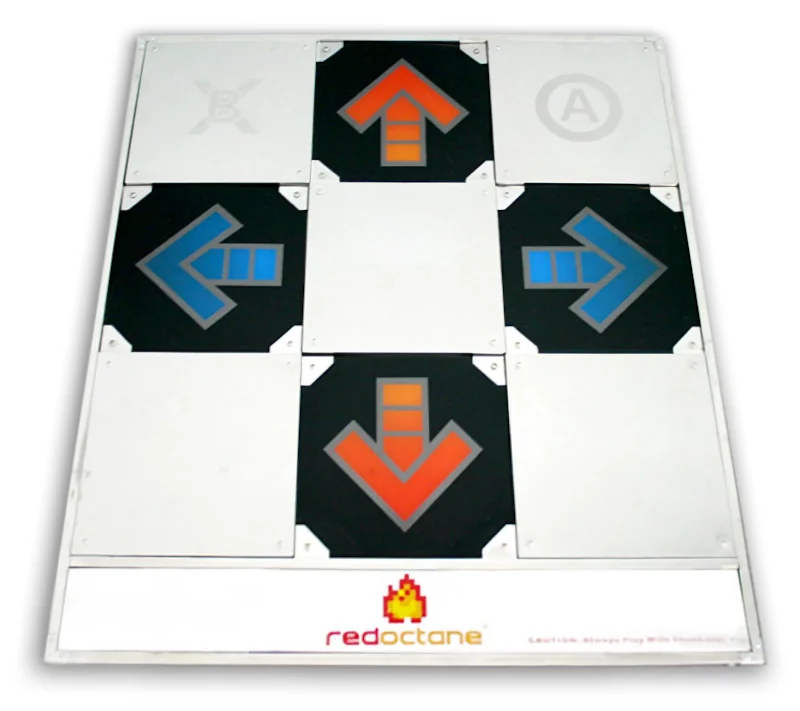
This thing was metal, it was an inch thick, and it weighed 44 pounds. And honestly I didn't like it very much either?
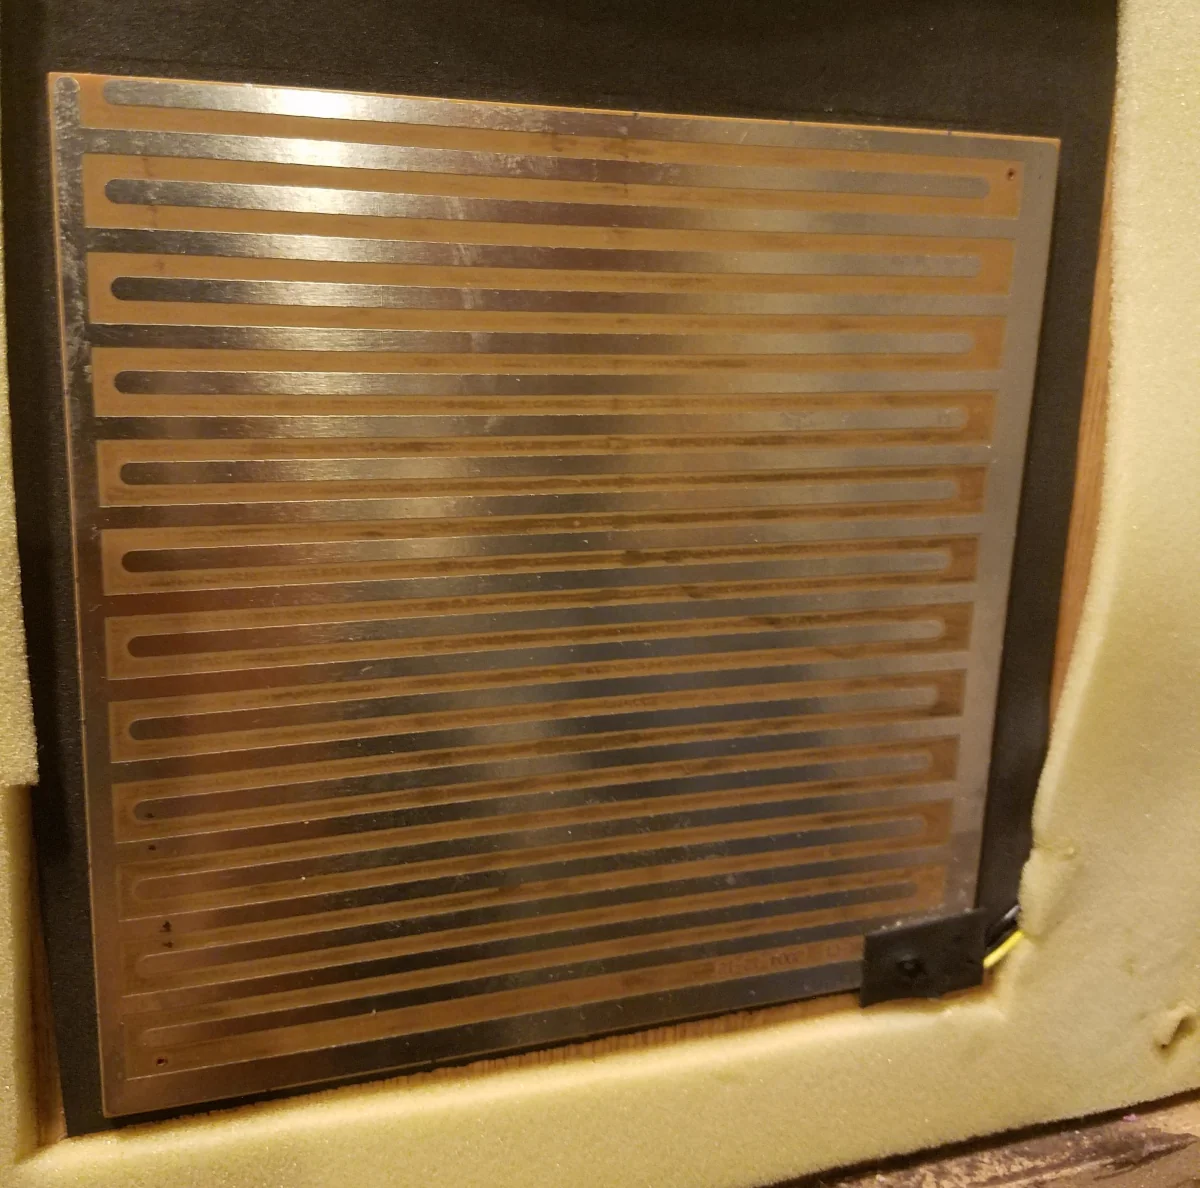
Image by u/James-Russels.
From what I can tell I'm in the minority there; a lot of people really enjoyed these. And admittedly part of my disappointment was due to a younger me's lack of research. See, arcade machines have solid plexiglass panels supported by pressure sensors at the edges. When you step on a panel, one or more pressure sensors is triggered and the machine registers a step. I assumed the Afterburner would be similar. Instead, it's again just a fancier version of that same cheap design from the soft pads. The panels are thin and flexible, with a layer of copper foil stuck to the underside. When you step on them, the center of the panel flexes and makes contact with a grid of copper contacts underneath.
It works ok, but it's definitely not as reliable or good-feeling as a real arcade pad. And because of the sharp metal and pointy screw heads, you really have to wear shoes to use it. So it was by far the loudest pad I'd ever owned, and it frequently got dirty. It also became increasingly unreliable over time, I think because of an issue with the control box. It's certainly the closest thing to an arcade DDR experience I've had at home, but in hindsight that's not really what I want anyway. I want something thinner, lighter, more sensitive, and more convenient.
Third Stage
My first attempt to build my own DDR pad was a total flop. I think the design is probably workable, but my particular implementation had a lot of issues. The idea was to use the same conductive grid pattern from the Afterburner sensors, but to close the circuit with my bare feet directly. I had some copper tape left over from a different project, and I figured I could use that to lay conductive lines onto a surface. I bought a large rubber mat from Home Depot and got to work.
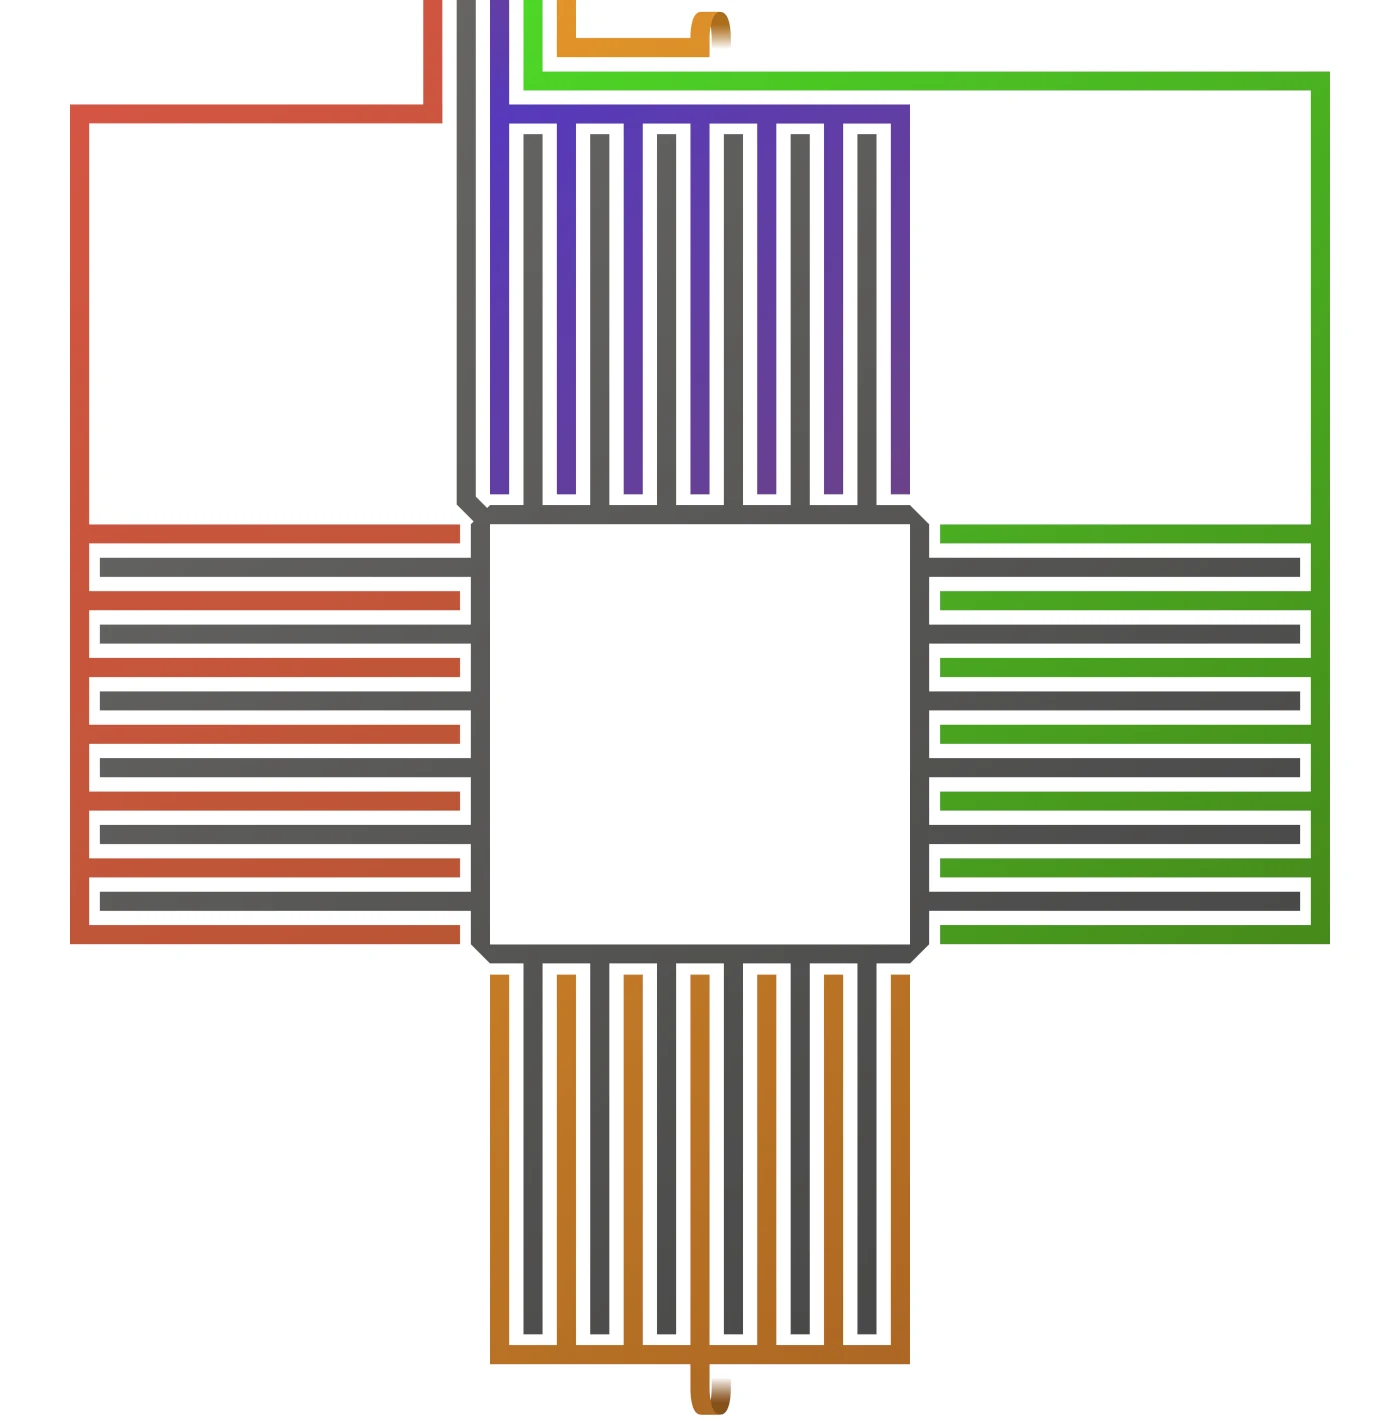
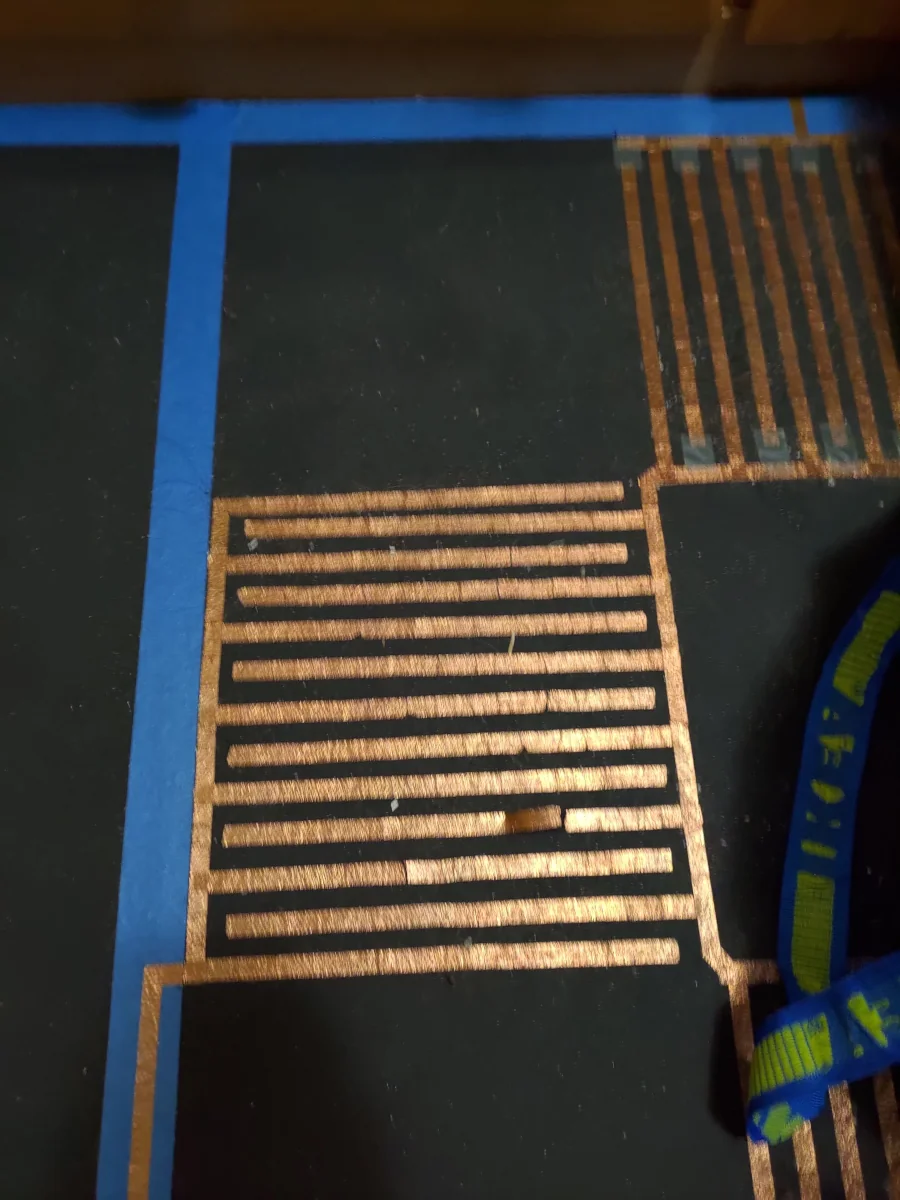
After laying out all the traces, I connected them to the analog input pins on an Arduino Uno that would monitor the change in voltage when a foot touched across the common +5v and one of the sensor lines. This detection system worked quite well, and I was able to play through several songs successfully the day I built it. A few problems quickly became apparent though:
- The copper tape started to peel up
- The rubber mat was flexible, and any bending would immediately cause the tape to crack
- The mat left a black residue on my feet after standing on it
In the end I didn't use it for very long. Like I said, I think the core concept is still workable though. I have since learned that there's conductive fabric tape available, which would probably be more durable, and you could try sticking it to a more solid surface like a sheet of acrylic. There's also conductive thread (DDR quilt anyone?).
Final Stage
A few years passed where I didn't play much DDR except at arcades, but eventually I decided to try again with making a home pad. I thought through my requirements for the design:
- Durable/low maintenance
- Portable, or at least storable
- Usable barefoot or in socks
- 9-panel, for both Pump and DDR
- Reliable enough for moderately-skilled play*
*The best I can do is around S14–S15 in Pump, and that's with a bar. I'm not setting any world records here.
Since I wanted low-maintenance, I figured I should avoid momentary switch designs with moving parts (like the Afterburner). One alternative would be resistive sensors, where a material like Velostat changes its electrical resistance when pressure is applied. This strategy seems to be quite popular in DIY pads, and it would be a good choice for someone looking to play in shoes (or if you like the idea of a pad with analog pressure sensitivity). Velostat is kinda hard to find though, and getting the sensor design and voltage/wiring right for that kind of thing can be tricky in my experience. So I decided to try something a bit unconventional: capacitive sensors.
Now to be clear, I'm by no means the first person to do this. But it doesn't seem to be very popular, and I've never seen a commercially-sold pad that used capacitance. If you don't know, capacitive sensing is how those old touch-activated lamps work, and a more sophisticated version is used in smartphone touchscreens. When two conductive objects are separated by an insulating layer, they form a capacitor that can store a small (but measurable) amount of charge. In a touch sensor, your body forms one half of the capacitor, and the capacitance changes as you move closer or further from the other conductive surface. So in terms of hardware, the sensor itself is essentially just a layer of any conductive material with a single wire leading to some electronics. This was very appealing to me because it meant the panels themselves would be very simple to build.
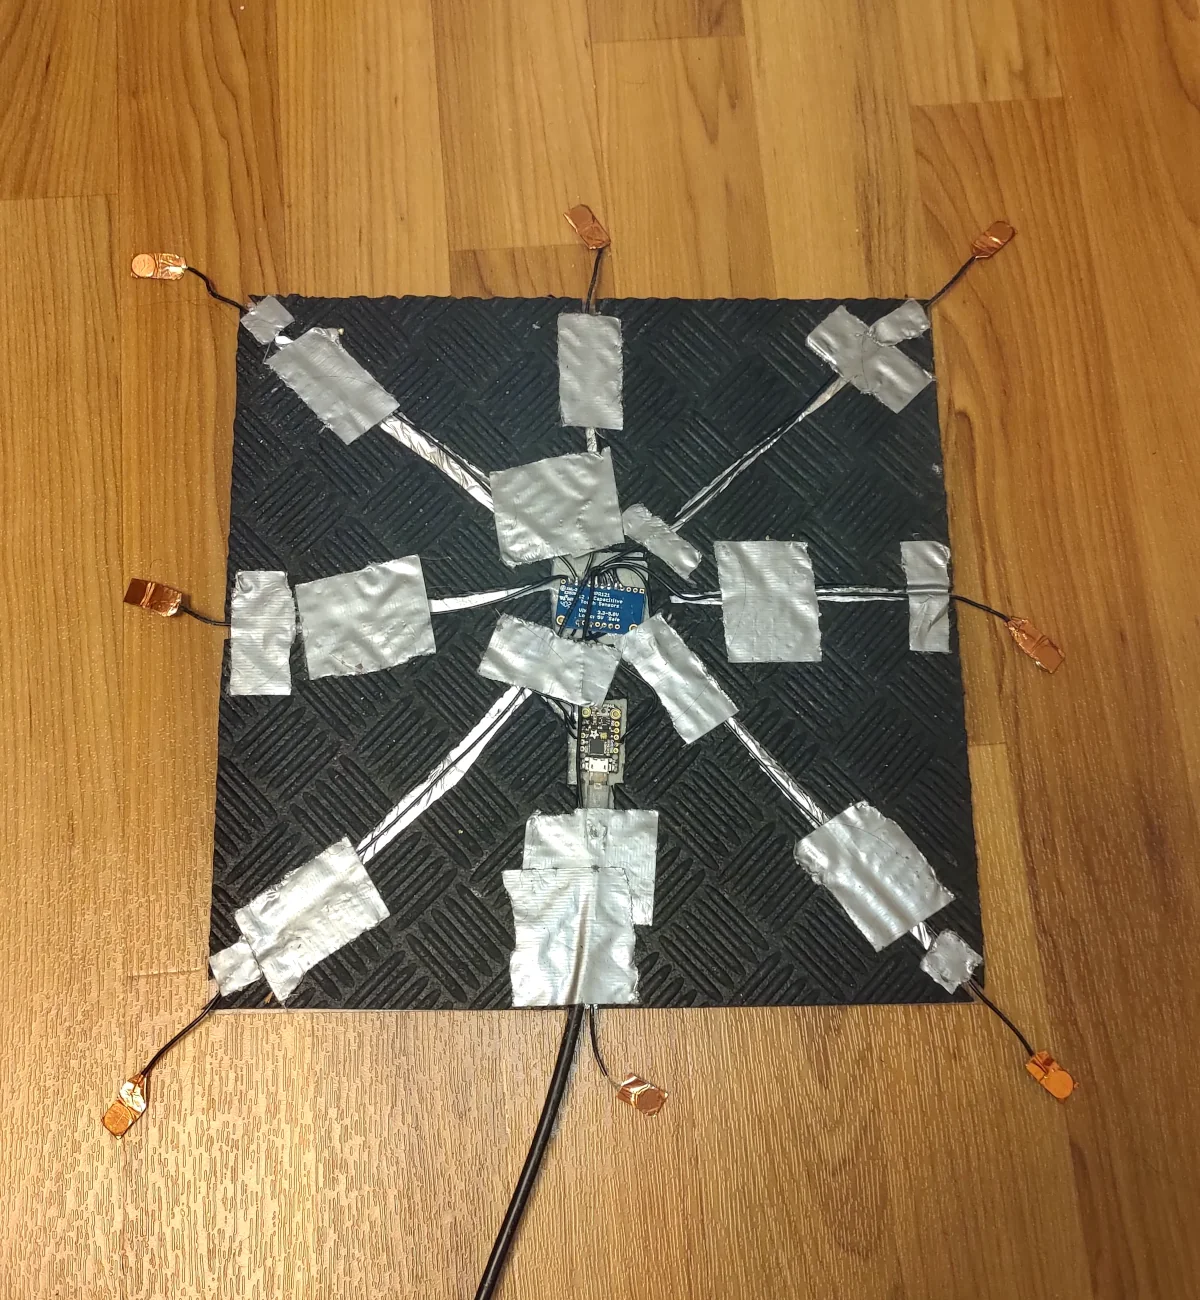
So here's what I came up with:
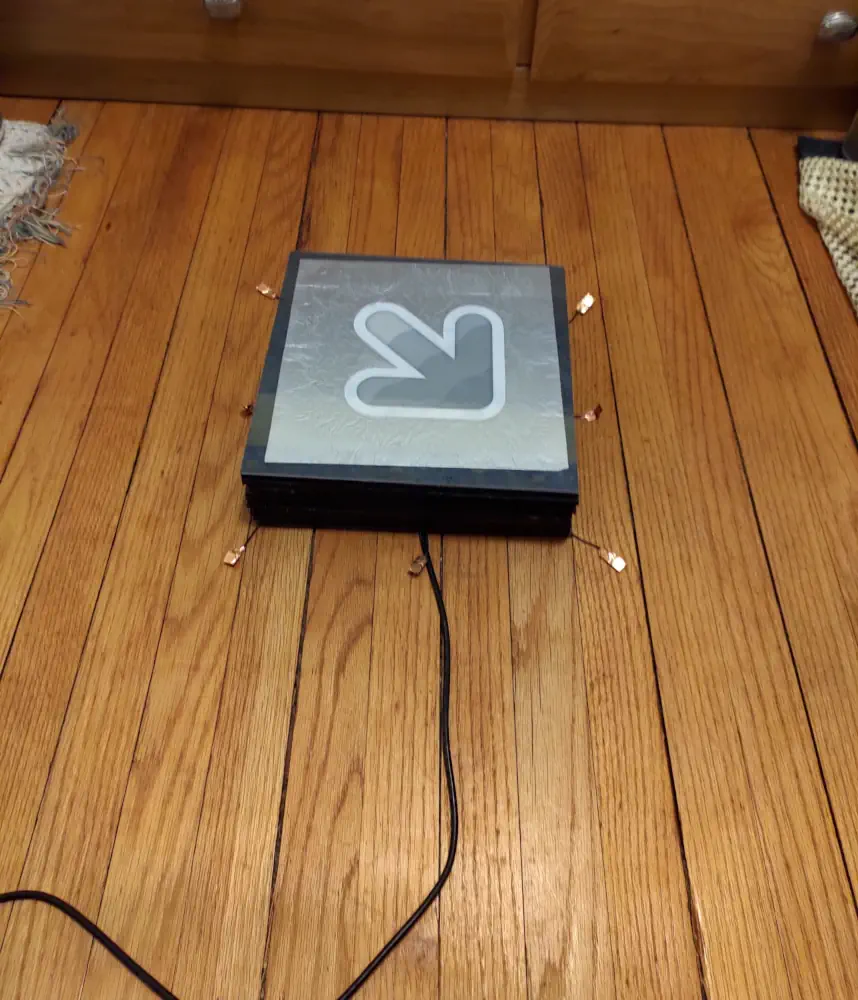
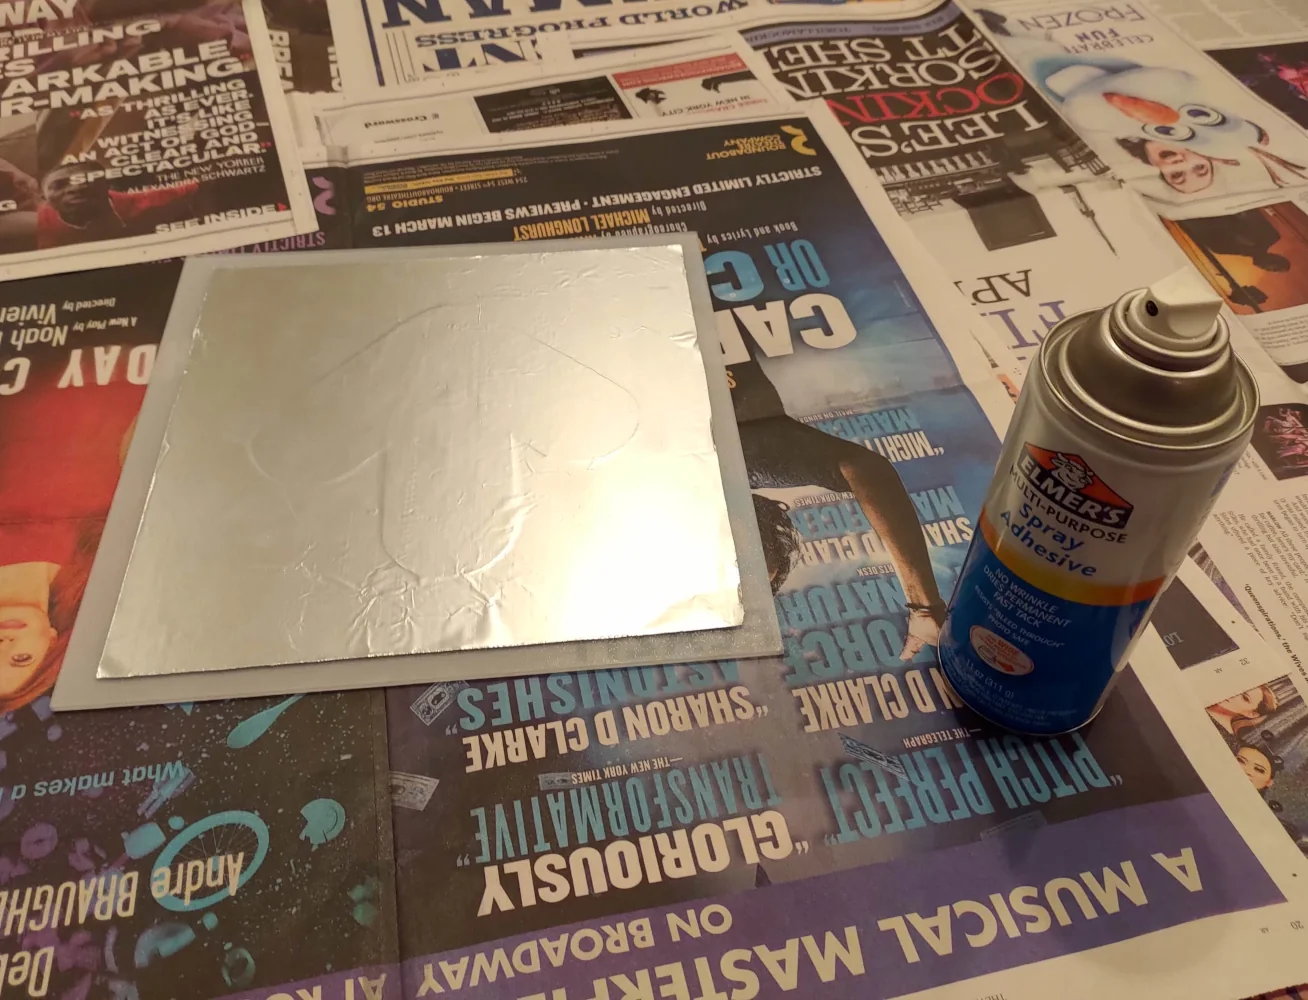
The base of each panel is a square of the rubber mat from my earlier experiment (chosen entirely because I already had it lying around). On top of this is a layer of alumnium foil, followed by a printed graphic, and finally a square of 1/8 inch polycarbonate from TAP Plastics. It's all held together with spray glue.
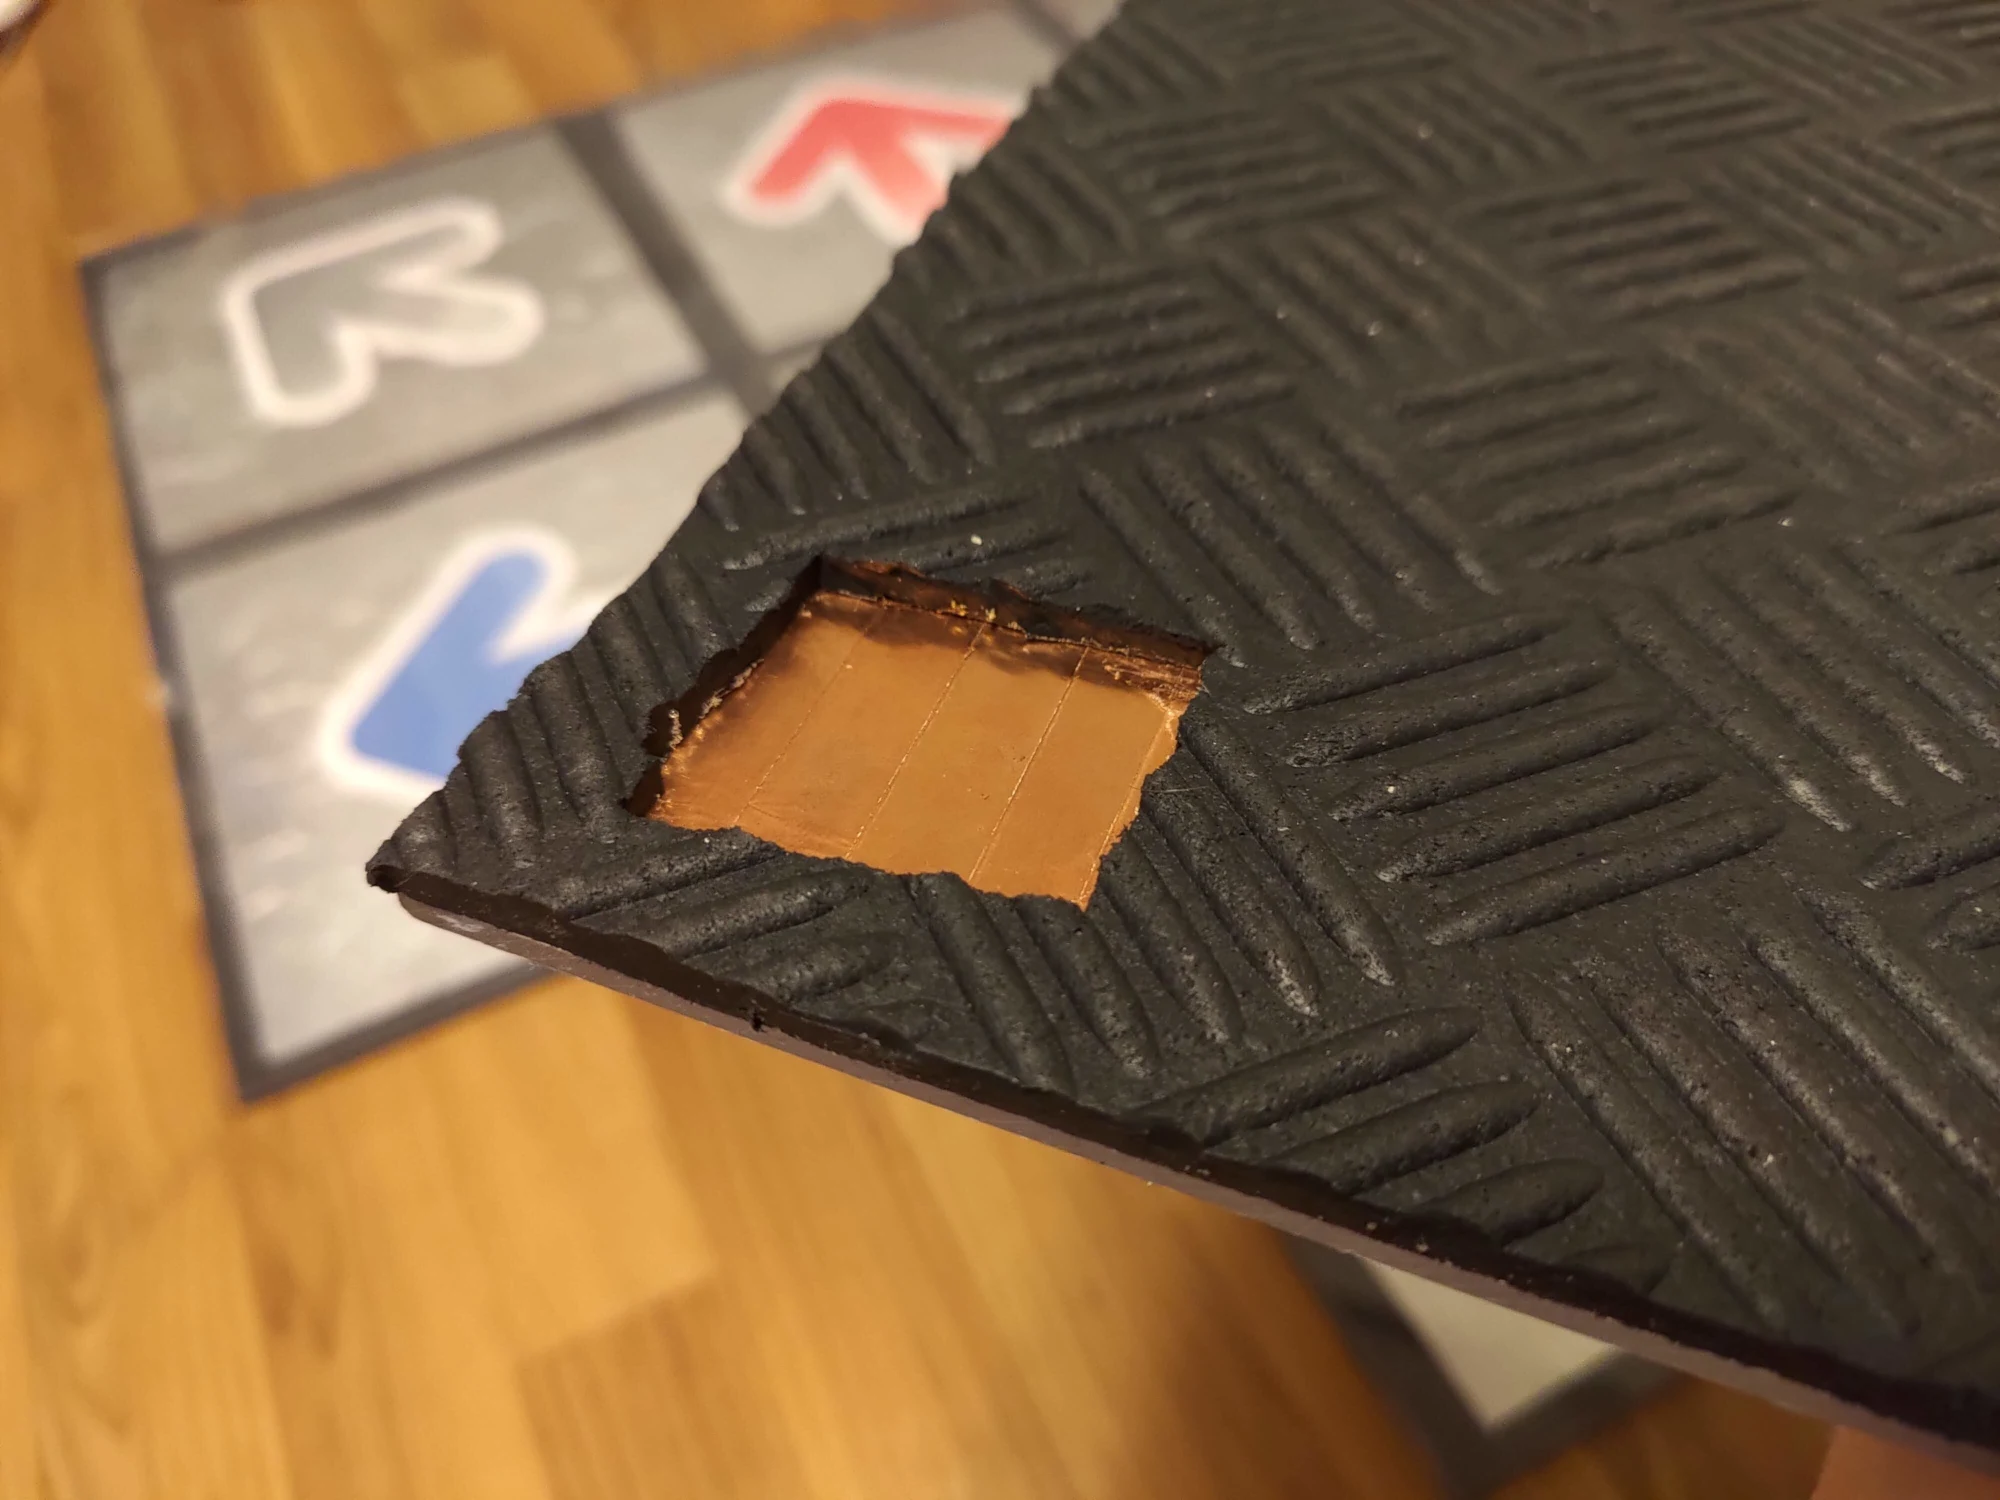
The electronics are all underneath the center panel, which connects to each of the outer panels through a wire with a magnet on the end. Each panel has a small cutout in the rubber, with a piece of shim steel to attract the magnet. This way the panels can be easily detached and stacked up for storage.
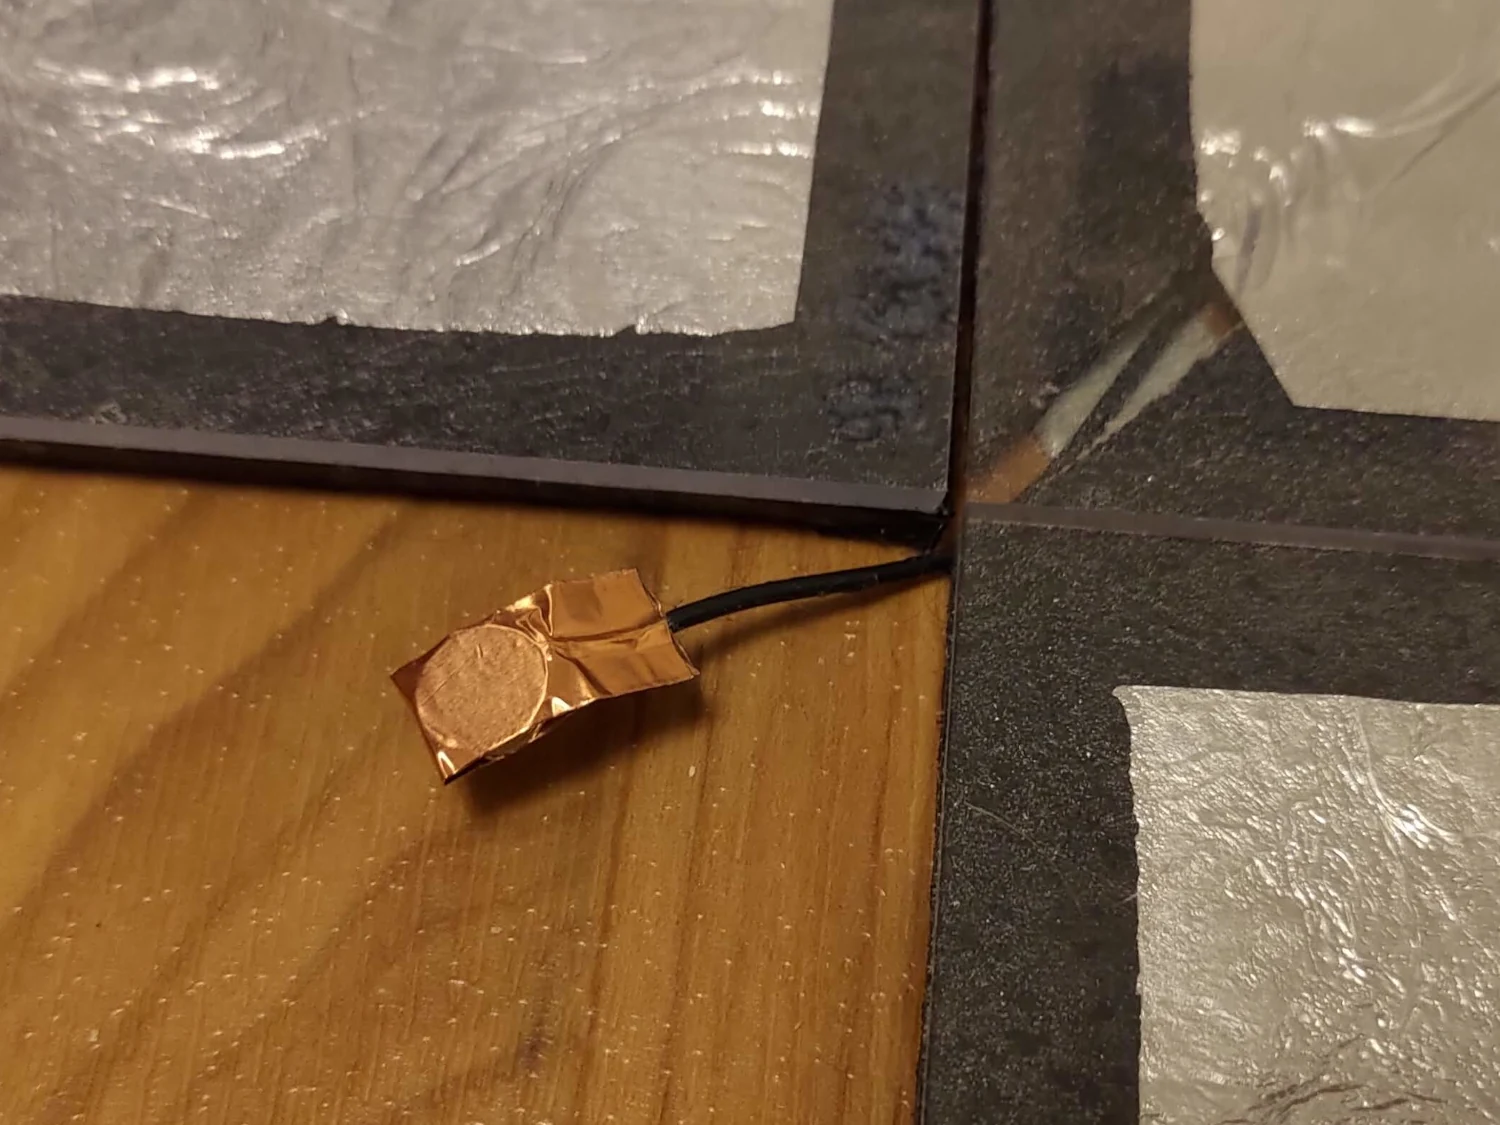
The core of the electronics is the excellent Trinket M0, a truly tiny microcontroller that can emulate a USB mouse, keyboard, or joystick. The capacitive sensing is done by an MPR121, a chip specifically made for this purpose. Thankfully both boards fit (just barely) into the thickness of the rubber mat. The USB cable runs through a channel in the up arrow panel and out the top of the pad.
The Trinket comes with CircuitPython preloaded, which made it a lot easier to use than the Arduinos I'm used to. The board shows up as a storage device with a .py file on it, and when you edit the file it automatically reloads the code on the board. Even updating the firmware can be done by dragging/dropping files without any special programming software. Maybe I'm just behind the times but I was really impressed.
The Trinket can be programmed to act as a variety of USB HID devices, like mice, keyboards, and gamepads. Originally I set it up to simulate a keyboard, with the panels mapped to arrow keys. This offered maximum software compatibility, but it also meant that my browser would scroll down whenever someone entered the room and stepped onto the pad (unless I unplugged it every time). So I quickly switched to having it act as a gamepad, with each of the nine panels mapped to a button. I do now have to manually map it in every game, but I really only use it with Stepmania and the Dolphin emulator so it's not a big deal.
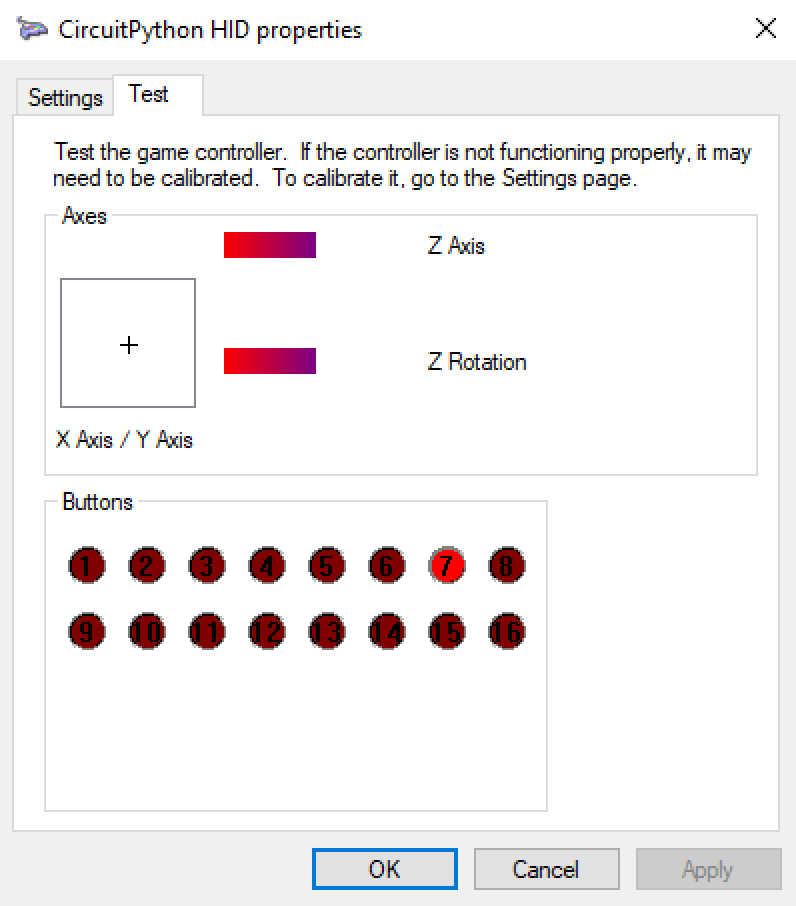
those things Microsoft hasn't updated since Vista.
So the big question then: does it work?
Yeah, actually. Pretty well.
The biggest issue is the weak mechanical and electrical connection between the panels. Currently, the panels tend to slide apart during use, so I've been using packing tape to hold them together (which can be removed pretty easily when I want to take the pad apart for transport). I should've taken a lesson from those foam playmat tiles and cut the rubber layer into interlocking shapes. That might've also helped with the electrical connection, which at the moment is a little inconsistent. The sensitivity needs to be calibrated individually for each panel, and sometimes panels randomly become more/less sensitive which I think is due to the magnets shifting position on the copper contacts. Using JST connectors or metal button snaps to connect the panels would've been more reliable, even if it would lose some of the cool factor.
That said, I'm really happy with how it come out. It's the first time I've ever had a proper 5-panel home pad for PIU, so I've been having a lot of fun playing through my favorite charts from the arcade. It works barefoot or in socks, although I prefer socks since they make it easy to slide my feet around the pad. I love how smooth and solid it feels (no flexing, no plastic crinkling sounds) despite only being around 7mm thick.
I don't have any fancy hardware to measure the exact latency, but when the calibration is right it feels very responsive. I think the capacitive sensors register a step a few milliseconds before a traditional pad would, since you don't have to cross any specific pressure threshold. It can detect you before you even feel yourself touch the floor.
Bonus Stage
As happy as I am with this build, I'm sure there are more iterations of it in my future. Like I said earlier, this design would be significantly improved by making the panels lock together and improving the reliability of the electrical connections. There are also quality of life features that could be added, like making the DDR panels slightly thicker than the PIU ones so it'd be easier to feel where the edges are, or adding lights to show when steps are being registered.
These days when I go to the arcade there's a new game that gets much of my attention: DanceRush Stardom. It uses infrared sensors around the perimeter of its platform to detect your feet stepping and sliding on the surface.
This makes me wonder if a similar setup could be used to make an infrared DDR pad, where the hardware was just a square frame that was set up around an area of floor. That has the potential to be even more portable than my solution. It would also look even more dorky in use, but if you got to the end of this post then I'm guessing that, like me, you don't really care.